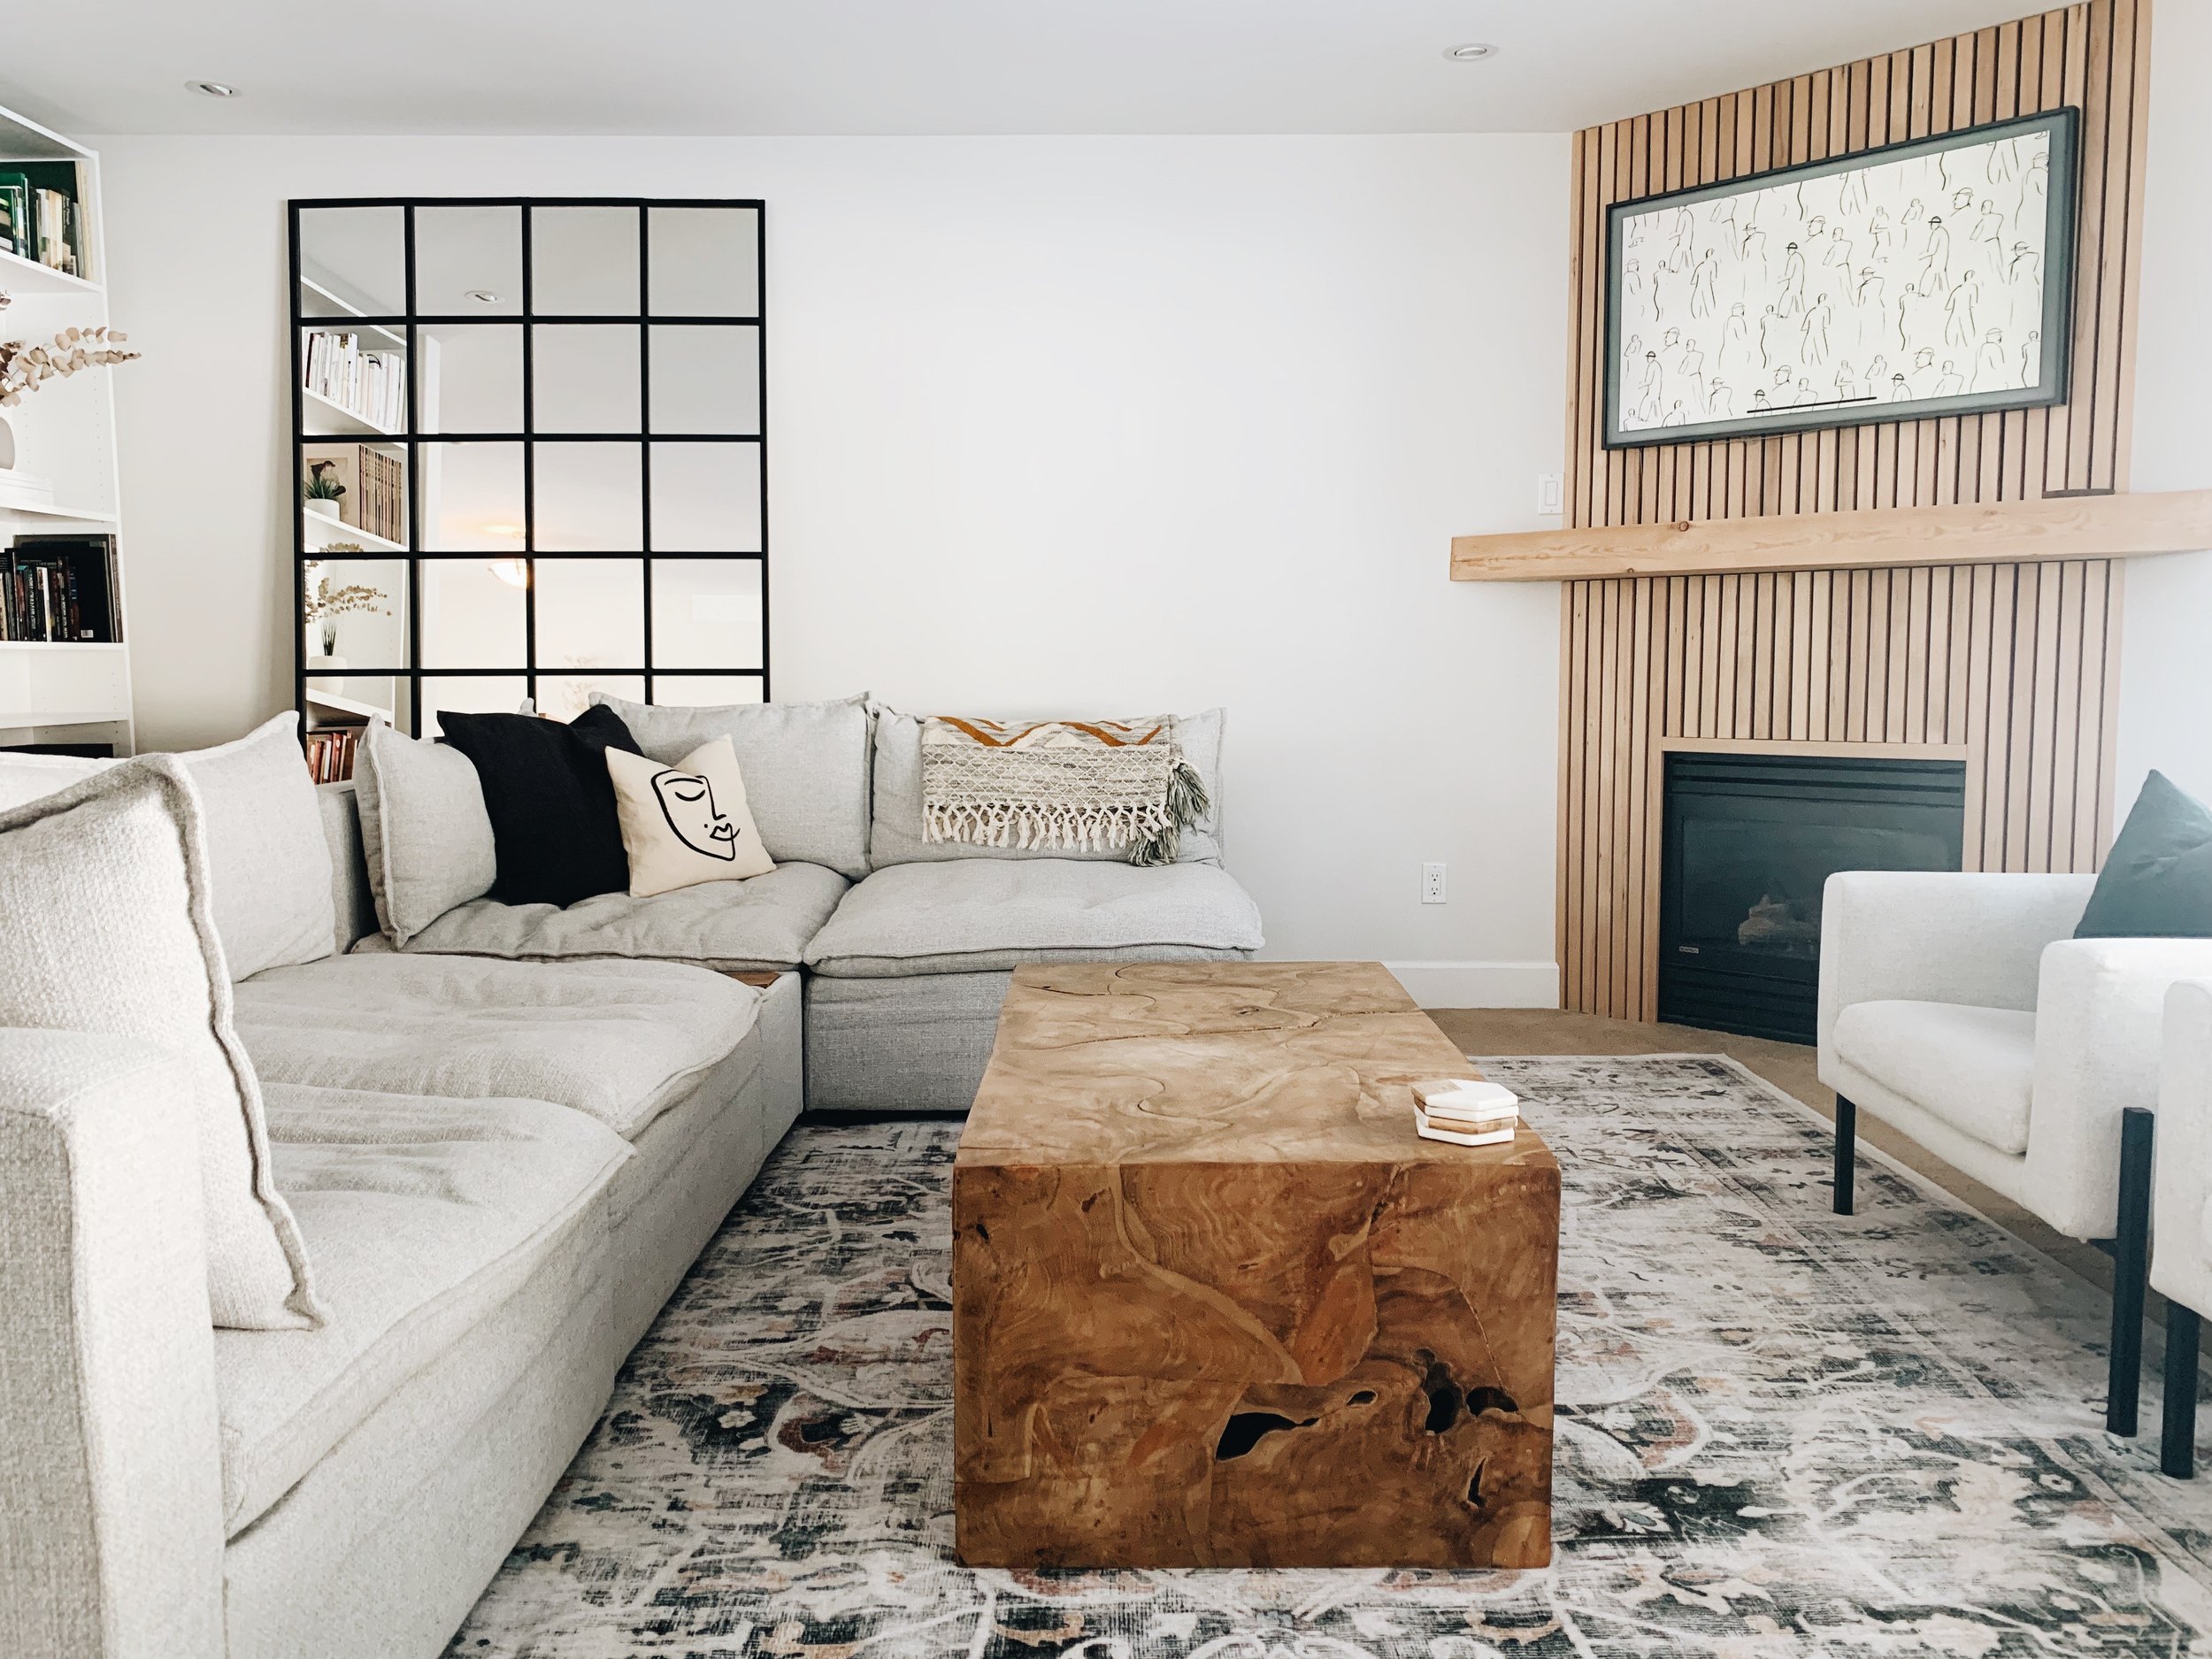
How to Create a Wood-slat Fireplace
The Elements of Design- Texture
Texture- such a common word with the trends of design today. Texture is something to attain in any design style, whether you prefer farmhouse modern, boho, or industrial, all the styles have their own texture to strive for to create the perfect aroma. So, what is texture, and why is it so important in design?
Texture is not only the physical feeling when you touch an object, but also a visual feeling when looking at art or a room. Texture is a feeling to create for visual interest.
My husband and I moved into our house in June 2020, and though the house is just 10 years old we wanted to do a few renovations to the home to make it our own. My personal design style tends toward minimal/Scandinavian, and the house was in a more traditional style. We started with painting the walls (a quick, cheap way to update any space), and then moved into more specifics. Our living room is very spacious- almost too spacious. Because of all the space, it was hard to choose a focal point. There is an alcove off to the left we made into a bookshelf area, a small fireplace in the corner, and a large window at the right. We decided to make the fireplace our focal point. I thought through many different options of how to create visual interest with simultaneously updating the space. After lots of thought and research, I found the idea of “tamber”, which is basically wooden slates laid next to each other to create a design. I instantly fell in love with it. Below is the step-by-step guide to how we built our wooden slate fireplace.
The end result of this renovation was gorgeous. We finished the DIY in November of 2020, and to this day I still love it. It creates so much visual texture and interest and helps the space come together. Instead of feeling lost in the space, there is an anchor, interest, and a beautiful natural focus. Our fireplace has become one of the most complimented spaces in our home.
Measure
We started with measuring the height, width, and length of the entire area we had. Then we went to our local hardware store and looked at wood options. After figuring out what kind of wood we wanted (we chose 1X2 Hemlock), we measured again to figure out how much wood we would need
Buy supplies
Besides power tools, we bought some MDF to cover the back of the fireplace, all the 1x2 we’d need to fill the space, primer, and matte black paint.
The backdrop.
Because our fireplace already had tiles on it we had one of two options. We could take out the tile, but then we would probably have to replace the drywall, or put the MDF over the tile and make up the difference on the top section. We chose the ladder. So after figuring out our measurements for the MDF, my husband cut it, and I painted it with primer and then the matte black paint.
4. Start cutting
While I painted my husband started cutting the wood slats down from the 10 feet length. This part was a bit tricky because we had a wooden mantle already in and we weren’t planning to take it out. We also have carpet under the fireplace, which gave up a bit of wiggle room. Andrew (my husband) started by trimming the baseboard out about an inch and then cutting the bottom and top sections of wood. The lengths weren’t completely the same, so we had to keep track of each side. As well as cutting the bottom section we had to cut the part above the fireplace itself and figure out the difference.
5. Arrange
After all the painting and cutting were done we arranged it all together. Because of the size of MDF that we had one sheet on the top and one sheet to go around the left side of the fireplace and the top, and a separate sheet for the right side. We started with arranging and nailing the top part of the mantle (In retrospect I would recommend the bottom section first, just to more easily line up) We had a small brad nailer and we nailed them in from the back. It would probably have been easier to do it up on the wall, but I didn’t want to have to fill in the holes from the nails. We cut a 3/4 inch piece for space in between the wood and measured through that way. Once we finished the top we did the bottom, trying our best to keep them in line with the alignment of the top section.
6. Sanding
After putting it all together we sanded down the existing mantle so that the colors would match the wood slats we were putting up. Thankfully the existing stain didn’t go too deep and it was relatively easy to remove.
7. Put it all up!
Finally after sanding was done we started to put it all up on the wall! We started with the top and fastened it into the drywall the with nail gun. The bottom was a bit trickier because of the tile. On both the top and bottom we left the two end pieces off each side. We nailed the MDF directly in, and put the end pieces up after that. The end pieces were nailed from the front, but we tried to put them in natural blemishes in the wood so the nails wouldn’t be seen. After all that we finished up with putt a “cross-bar” over the fireplace cutout area to give it that finishing touch. Then we were done! Below are some more detailed pictures of the fireplace.


